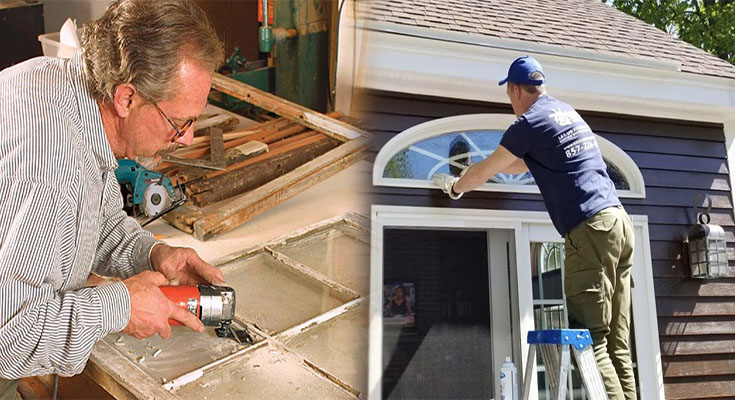
Windows play a crucial role in the overall aesthetics and functionality of a home. They allow natural light to fill the space while offering beautiful views of the outside world. For homeowners who appreciate the vintage charm of older homes, restoring and painting exterior wood window frames can truly enhance the character and appeal of a property. In this article, we will explore the process of restoring and painting exterior wood window frames to bring out their vintage charm.
1. Inspection and Cleaning
Before starting the restoration process, it is essential to inspect the condition of the wood window frames. Look for signs of decay, rot, or termite damage. Address these issues before proceeding with any restoration work. Once the frames are free from damage, thoroughly clean them using a mild detergent and warm water. This will remove dirt, dust, and any loose or flaking paint.
2. Stripping Old Paint
If the window frames have multiple layers of old paint, it is important to strip them down to the bare wood. This can be done using a chemical paint stripper specifically designed for wood surfaces. Follow the instructions provided by the manufacturer, apply the stripper, and let it sit for the recommended amount of time. Then, scrape off the softened paint using a putty knife or a paint scraper. Repeat this process until all layers of old paint have been removed.
3. Sanding and Repairing
After stripping the old paint, it’s time to sand the wood surface. Use medium-grit sandpaper to gently sand the entire window frame. This will smoothen any rough areas and create a clean, even surface for the new paint. Pay extra attention to corners and edges, as these are often the most challenging to sand.
During the sanding process, you may come across areas that require repair. Fill any cracks, holes, or gaps with a wood filler. Allow the filler to dry completely before proceeding.
4. Priming and Painting
Before applying the final coat of paint, it is crucial to prime the wood surfaces. Choose a high-quality, oil-based primer specifically designed for wood. Apply the primer evenly, using a brush or a roller. Make sure to cover all the areas, including the corners and edges.
Once the primer is dry, it’s time to paint the window frames. For a vintage charm, consider using classic colors such as white, cream, or light pastels. Opt for a high-quality exterior paint that is specifically formulated for wood surfaces, as it will provide better durability and protection against the elements. Apply the paint in thin, even coats, allowing sufficient drying time between each coat.
5. Finishing Touches
After the final coat of paint has dried, take some time to inspect the window frames for any imperfections. Touch up any areas that require extra paint. Additionally, consider adding a clear topcoat to protect the paint and extend its lifespan.
Finally, clean the windows thoroughly from the inside and outside, removing any traces of paint or dust. Install the window hardware, such as handles and locks, to complete the restoration process.
By following these steps, you can restore and paint exterior wood window frames to bring out their vintage charm. With a little effort and attention to detail, your windows will become focal points of your home, exuding timeless beauty and adding an authentic vintage feel. So, enjoy the process, and let your stylish window frames become a testament to the unique character of your vintage home.


