
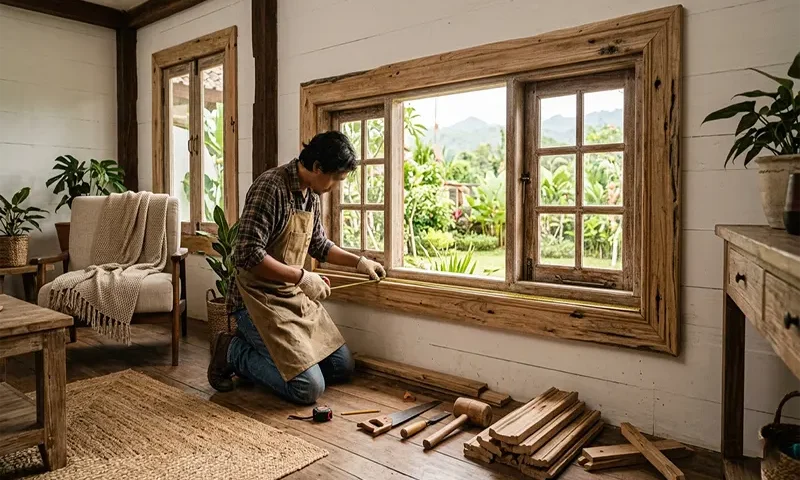
In the world of interior design, windows are often referred to as the “eyes of the home.” However, in many modern constructions, these eyes are left with thin, “builder-grade” trim that lacks character and presence. Transforming these openings with wide, rustic wood trim is one of the most impactful DIY projects you can undertake to achieve the Modern Farmhouse aesthetic—a style defined by clean lines, natural textures, and a profound sense of history.
By replacing narrow plastic or MDF moldings with substantial wood, you create an architectural focal point that adds both warmth and resale value to your home.
Wood Selection & Sourcing: Reclaimed vs. New
The soul of a rustic window frame lies in the wood itself. You have two primary paths: sourcing authentic history or “faking” it with new lumber.
Reclaimed Barn Wood
Using salvaged lumber from old barns or fences provides an unmatched patina. This wood often features original saw marks, nail holes, and a weathered grey or deep brown hue that cannot be perfectly replicated.
- Pro-Tip: When using reclaimed wood, always check for “live” bugs and use a metal detector to find hidden nails before running the wood through a saw.
Distressing New Pine
If reclaimed wood is unavailable, common “Select Pine” or “Common Board” from a local hardware store can be transformed. Pine is soft and takes distressing well, making it the perfect canvas for creating a rustic look on a budget.
- Pro-Tip: Look for “Rough Sawn” lumber at a local mill. It still has the circular or band saw marks on the surface, providing a head start on the rustic texture.
The Anatomy of a Farmhouse Window
To build an authentic frame, you must understand the four key components of the “Craftsman” or “Farmhouse” assembly. Unlike ornate Victorian trim, farmhouse style relies on thick, flat boards.
- The Header: The top horizontal piece. In farmhouse styles, this is often the thickest board and may include a “cap” molding on top for extra weight.
- The Side Casings: The vertical boards that frame the window.
- The Windowsill (Stool): The horizontal “shelf” at the bottom.
- The Apron: The decorative piece of trim installed directly underneath the windowsill.
Tools and Supplies Checklist
Having the right tools ensures your joints are tight and your installation is secure.
- Miter Saw: For clean, square cuts.
- Pneumatic Nailer (18-gauge): For fastening trim without leaving large holes.
- Kreg Jig: Helpful for pre-assembling the header if you choose a built-up look.
- Wood Glue: Essential for every joint; the nails hold it while the glue dries.
- Pry Bar and Putty Knife: For removing old trim without destroying the drywall.
- Safety Gear: Dust mask, ear protection, and safety glasses.
Step-by-Step Installation
1. Removing Old Trim and Prep
Start by scoring the caulk line between the old trim and the wall with a utility knife. Carefully slide a putty knife behind the trim and use a pry bar to pop the boards off. Once removed, pull any remaining nails out of the wall with pliers and scrape away old caulk.
2. Measuring and Planning
Farmhouse trim typically uses butt joints (90-degree angles) rather than mitered joints (45-degree angles).
- The Calculation: Your side casings will sit on top of the windowsill. Your header will sit on top of the side casings. Measure the “reveal” (the small gap of window frame showing) to ensure consistency—usually 1/8 to 1/4 inch.
3. Cutting and Joinery
- The Sill: Cut the windowsill first. It should extend past the side casings by about an inch on each side. Notch the corners so it fits snugly against the window.
- The Butt Joint: Cut your side casings to length. Because you are using square cuts, you don’t have to worry about the “gap creep” that often happens with 45-degree miters on uneven walls.
Pro-Tip: If your walls are bowed, use a “scribing” technique. Hold your board against the wall, trace the curve of the wall onto the wood with a compass, and trim the back of the board to fit the contour perfectly.
4. Installation
Apply a bead of wood glue to the back of the casing. Place the board, check for your reveal, and fire nails into the wall studs.
- Mistake to Avoid: Do not nail only into the window jamb; make sure your nails are long enough (typically 2 to 2.5 inches) to reach the structural studs behind the drywall.
The Finishing Touches: Adding “Age”
If you are using new wood, this is where the magic happens.
Distressing Techniques
To make new pine look 100 years old, you need to add physical texture:
- The Chain Technique: Lightly whack the wood with a heavy metal chain to create clusters of small “dents.”
- The Hammer: Use the claw end of a hammer to create deep “gashes.”
- The Wire Brush: Scrub the wood in the direction of the grain to pull out the softer fibers, leaving a raised, weathered grain texture.
Staining for Depth
Use a “Pre-Stain Wood Conditioner” first to prevent blotchiness. For a farmhouse look, “Dark Walnut,” “Early American,” or a weathered grey stain works best.
- Pro-Tip: Apply a very thin coat of stain and wipe it off immediately. You want the wood grain to show through, not to look painted. Finish with a matte polyurethane or furniture wax; shiny finishes ruin the rustic effect.
Caulking and Gaps
In a rustic project, small gaps are sometimes acceptable, but a clean finish requires filler. Use a dark wood filler for knots and nail holes. If you have gaps against the wall, use a paintable caulk that matches your wall color to make the wood “pop” against the paint.
Common Mistakes to Avoid
- Over-Distressing: It’s easy to get carried away. Keep your distressing focused on the edges and corners where natural wear would occur.
- Forgetting the Reveal: If you nail the trim flush against the window window, the sash may not open correctly. Always maintain a consistent reveal.
- Ignoring the Studs: If you only nail into the drywall, the weight of the wide rustic boards will eventually cause the trim to pull away.
Installing DIY rustic wood window trim is a transformative project that moves a home away from “mass-produced” and toward “hand-crafted.” By choosing substantial lumber and opting for simple, honest butt joints, you honor the tradition of farmhouse architecture. This project requires patience in the measuring phase and creativity in the finishing phase, but the result is a home that feels grounded, warm, and uniquely yours.
